Welding Procedures in Trailer Jack Installation
Although today's trailer jack installation methods increasingly omit welding for the sake of convenience, in certain situations, welding remains a more reliable approach when superior support strength is required. For trailers that carry heavy loads over rough terrain or demand exceptional structural rigidity, the confidence provided by a solid weld bead is difficult to match with simple bolt-on clamping alone. When installing a trailer jack, welding is by no means a procedure to be taken lightly; different jack types and mounting methods involve distinct welding scenarios. Understanding these scenarios helps you strike the right balance between durability and ease of installation.
Directly Welded Trailer Jack

The most straightforward scenario is the directly welded trailer jack. This type typically features a large metal mounting flange on its base or is designed as a cylindrical section meant to be welded directly onto the trailer tongue beam. During installation, the jack must be precisely positioned so that when fully retracted it does not interfere with the tow vehicle's tailgate, and when extended to working height it provides sufficient ground clearance. The base is then fully welded to the side, top, or bottom of the trailer tongue. Before striking an arc, a crucial preparation step cannot be overlooked: the factory paint coating or galvanized layer in the welding area must be thoroughly ground down to expose shiny bare metal. Under the intense heat of the arc, residual paint will burn, carbonize, and create porosity, significantly reducing the effective load-bearing cross-section and even causing lack-of-fusion defects. Only with a meticulously cleaned surface can the weld pool properly fuse with the base metal, creating a joint capable of withstanding the dynamic, multi-ton loads experienced at the front of a trailer. Furthermore, it is advisable to use lower amperage and weld in short, staggered segments to prevent excessive heat distortion on thin-walled trailer beams. After welding is complete, prompt application of anti-corrosion paint is essential to guard against premature rust formation along the weld seam.
Sleeve-Welded Trailer Jack

The second common type is the sleeve-welded trailer jack. This design employs two steel sleeves of different inner diameters: a larger outer sleeve is either pre-installed or needs to be welded by the user onto the trailer tongue, while a smaller inner sleeve fits around the jack's vertical post and is locked in place with a through-pin. This setup combines the rigidity of a permanent weld with the convenience of quick detachment. The core welding operation here involves attaching the larger sleeve to a designated point on the trailer tongue. To ensure the jack remains perfectly vertical and operates smoothly without binding, high perpendicularity is required, often achieved through a circumferential weld—either applying two continuous beads around the top and bottom of the sleeve or, at minimum, equally spaced, robust tack welds. It is worth noting that some products, often for packaging efficiency, supply the smaller sleeve as a separate component, requiring the user to weld it onto the jack post themselves. In such cases, a careful trial fit must be conducted first to confirm alignment and coaxiality before committing to a full weld; otherwise, a misaligned sleeve will cause the post to bind inside the outer sleeve or fail to insert at all. Whether welding the larger or smaller sleeve, the mating surfaces must be ground free of paint and oil, and the welding ground clamp must be securely attached directly to the workpiece being welded to prevent stray welding current from passing through precision components, such as ball bearings or machined spindle surfaces, where it could leave damaging arc erosion pits.
Welding Reinforcement for Bolt-On Jacks

Even some bolt-on trailer jacks, which are marketed as weld-free, may still require welding for reinforcement in certain demanding applications. For instance, to significantly strengthen the bolted connection, you may need to weld a square plate with an integrated round clasp. This plate is fully welded onto the side or top of the trailer tongue, creating a flat, thickened mounting platform. The protruding round clasp captures the jack post, and heavy-duty U-bolts or clamping bands are then tightened to press the post firmly against the clasp. The structural advantage here is that shear forces are effectively shared by the continuous weld and the steel plate as a unified whole, rather than relying solely on bolt friction to resist the twisting and lateral impact forces exerted during jack operation. In another common scenario, to enable a fold-away or swivel-up function, a ring-and-lug pivot assembly is often welded. A pair of robust ear plates with precisely aligned holes are welded to the trailer tongue, while a pivot ring is either integrally formed on or welded to the jack post. A long hardened pin passes through the ear plates and the pivot ring, allowing the entire jack to be swung upward 90 or 180 degrees into a stowed position, thus preserving essential ground clearance during travel. This type of welded bracket demands exceptionally high coaxial alignment between the two ear plates. A recommended technique is to insert a long alignment pin through both ears and the bushing on the jack before completing all the final welds, verifying that the assembly swings freely; this prevents the common problem of pin-hole misalignment caused by thermal contraction during the cooling of the weld.
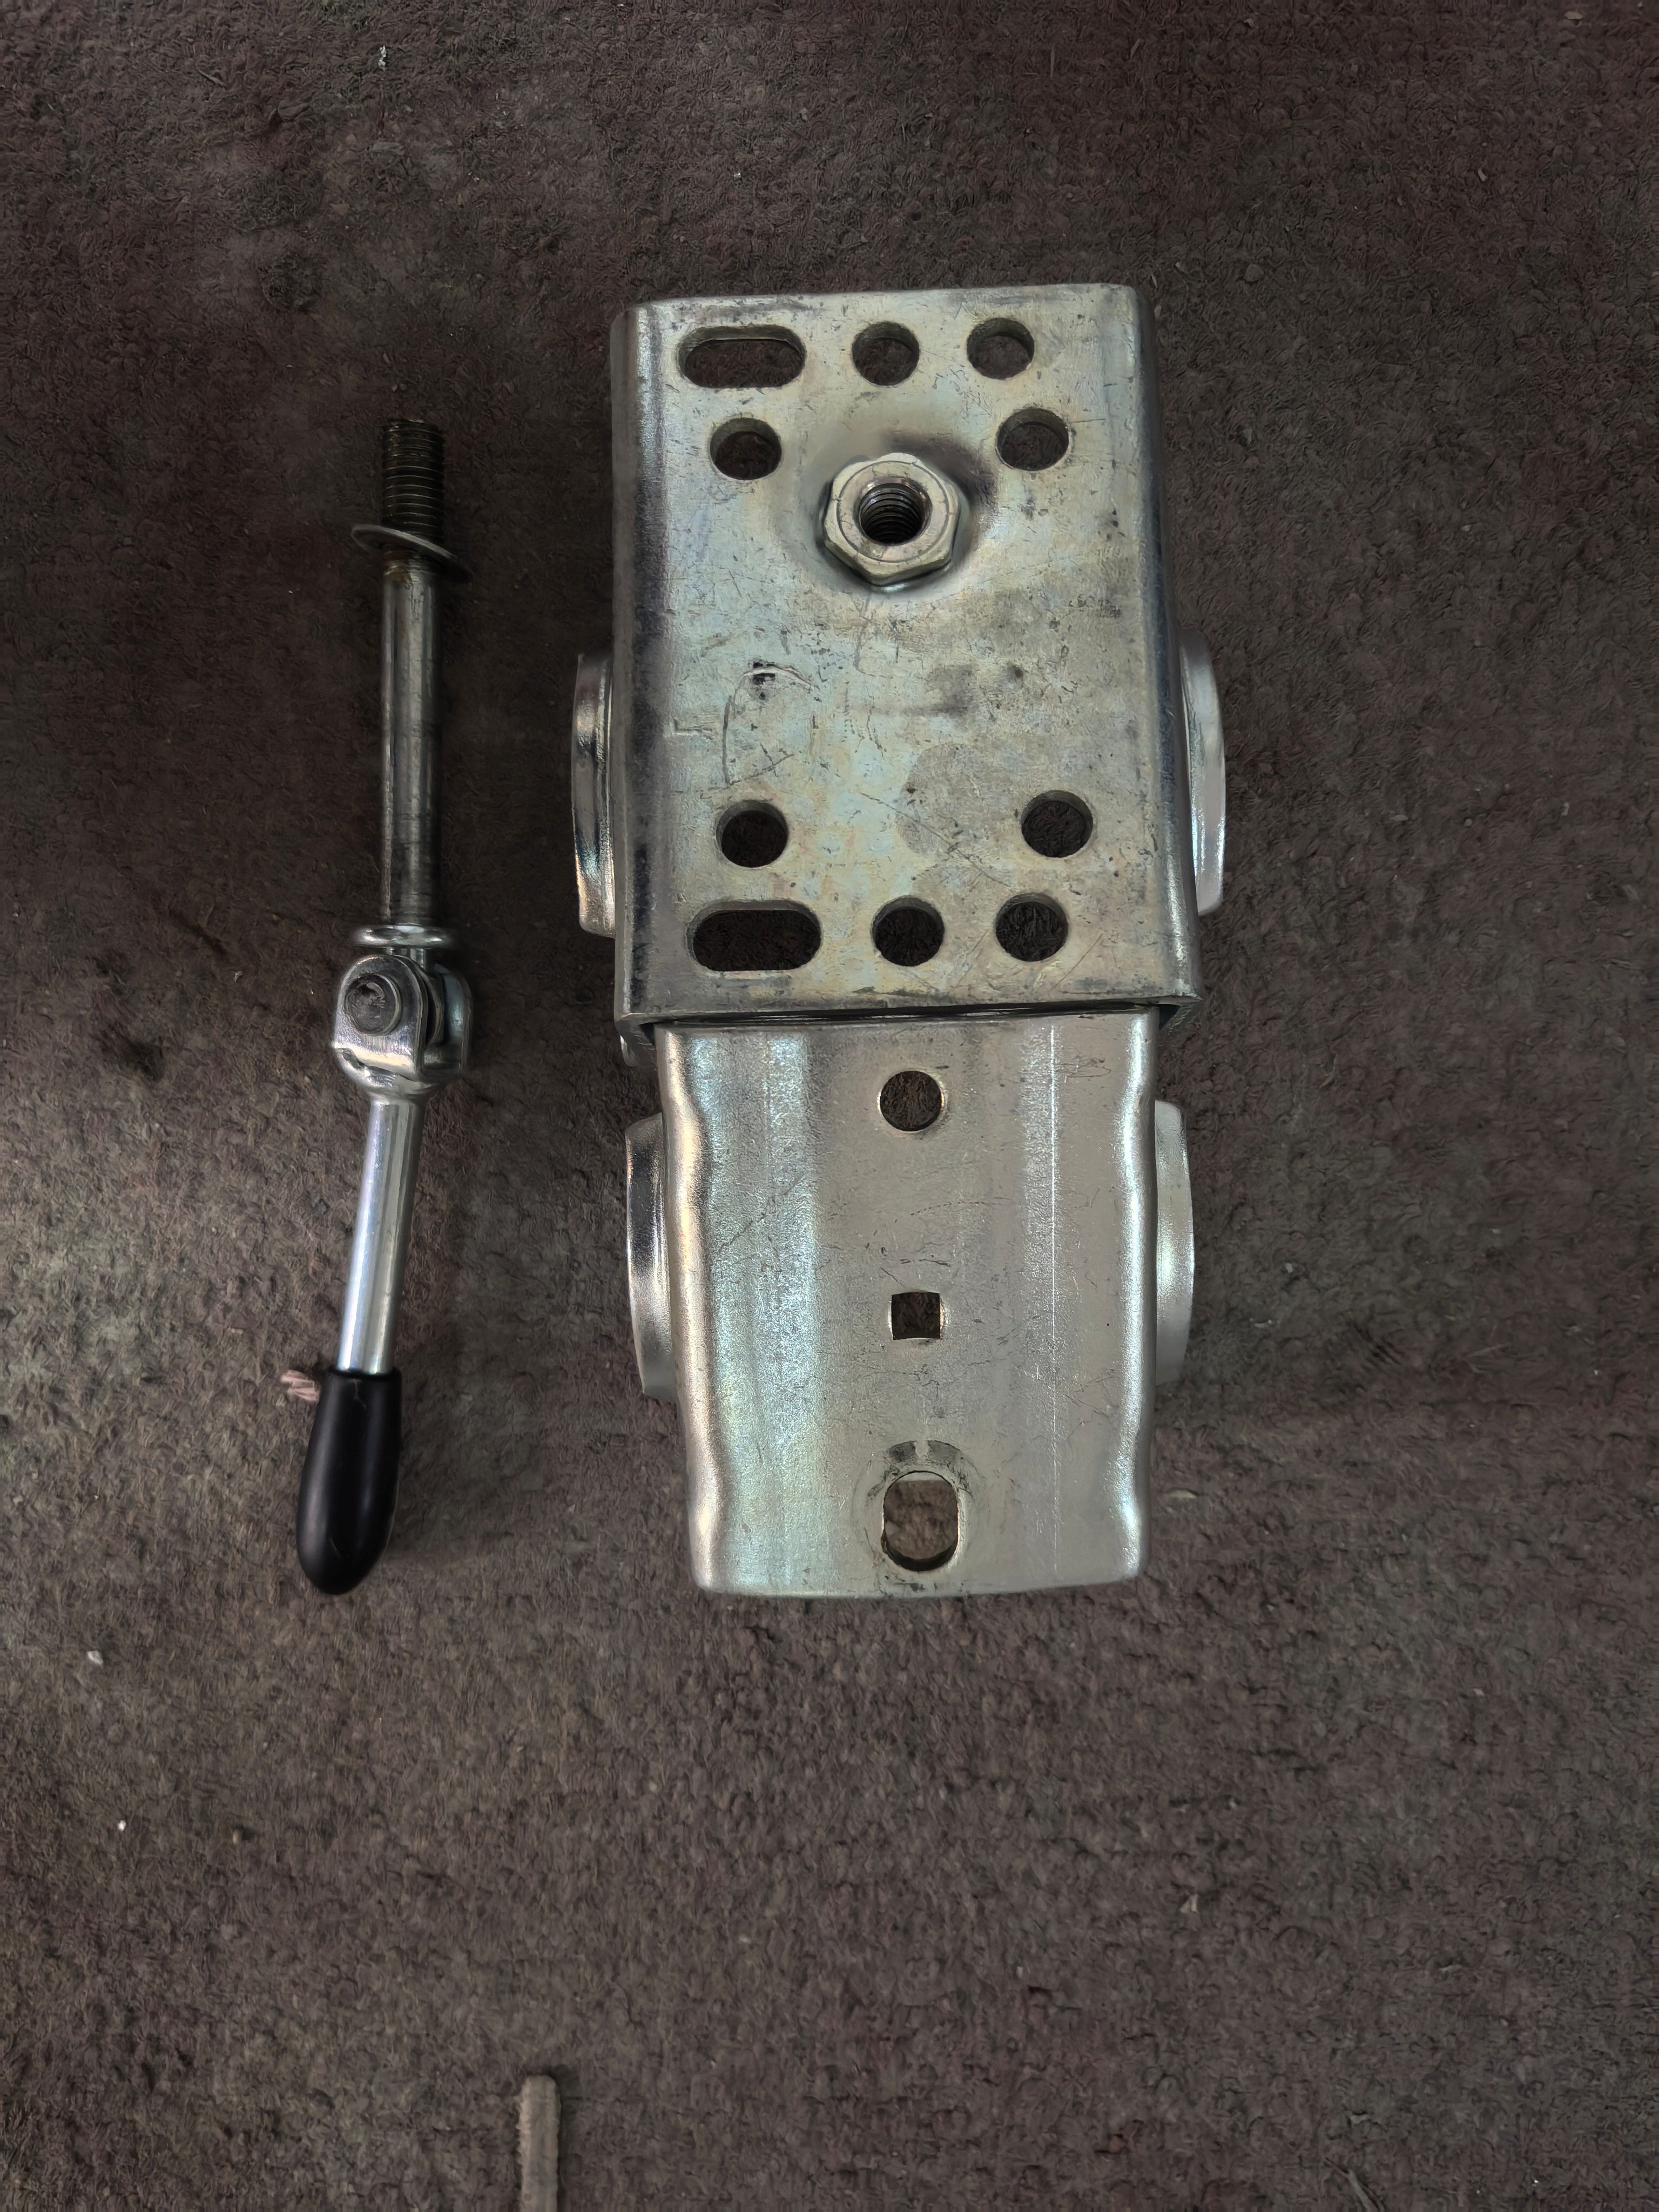
In stark contrast to the methods described above, pipe-clamp style trailer jacks generally involve no welding whatsoever during a standard installation. Their fastening mechanism relies on a pair of semi-circular forged clamp halves that wrap around the trailer's round tube tongue, tightened by high-strength bolts pulling from both sides to secure the jack in place purely through friction. For the majority of users, this purely bolted connection is more than sufficiently reliable. However, if the trailer is consistently operated in extremely rough or high-vibration environments and there is a desire to eliminate any possibility of the jack slipping along the tongue, one supplementary strengthening technique is to drill a precisely located through-hole in the trailer tongue arm. This allows a bolt to pass completely through the tube wall and the clamp, effectively creating a shear-pin effect that positively locks the assembly in place. This is a drilling operation rather than a welding one, yet it dramatically enhances the connection's overall slip resistance while maintaining a non-destructive, entirely removable setup.
In summary, the welding procedures encountered during trailer jack installation vary according to product design, but they all revolve around a single core principle: creating a permanent, rigid, and non-loosening connection through properly deposited weld metal precisely where structural integrity is paramount. Whether it involves welding the jack base directly onto the tongue, securing interlocking sleeves, or adding reinforcement plates and swivel brackets for otherwise bolt-on mounts, every weld must be executed only after thorough surface preparation, precise alignment, and careful shielding of surrounding components. In an era that favors tool-free convenience, the deliberate choice to pick up a welding torch reflects an understanding that, for those who demand the utmost in dependable support, the robust permanence of a well-executed weld provides a peace of mind that no clamp alone can deliver.
You may also interested in:
Trailer Jack Encyclopedia
Trailer Jack Maintenance Guide
New Boat Trailer Winch Strap Bunches Up on the Drum: What to Check Before Using It Again
A Third Way to Install a Trailer Jack that You may have Never Heard of
Related Article